Flying with your camera gear can be a nerve-wracking experience. On one level, there are the cost and insurance headaches involved if you lose or damage your equipment; on another, there are the professional implications if you arrive at your destination for a shoot, but your cameras do not.
As a professional photographer, I have flown many times with my cameras. Depending on the shoot requirements, sometimes I have travelled with little more than a body and a couple of prime lenses in a carry-on bag. At other times, it has felt like I was dragging just about every bit of camera and lighting gear I own onto an international flight.
The longest flight I have taken with my photography gear was from the UK to Australia to photograph a wedding, but by far the most nerve-wracking was the flight to Cuba. No disrespect to the Cuban airline staff, but the sense of relief I felt when my case emerged to be collected at Havana airport was palpable.
Happily, I have never lost a single piece of camera equipment on a flight (I did lose about £10,000 worth on a beach in Iceland, but that is a story for another time); that is not to say flying with camera gear has always been easy. Between dealing with lithium batteries, weight restrictions and airport security, I have had more than my fair share of challenges.
Read on for my tips on how to fly with camera gear, and hopefully, I can save you a headache or two along the way.
Flying with Camera Equipment: Should I Check My Camera Gear or Carry It On?
The honest answer to this question is “It depends.”
Given a choice, I would always carry my camera gear on to an international flight. That way, I know it is safe and well looked after.
Carrying camera equipment on can have some drawbacks. Certainly, it can make the security checkpoint before you board slower, especially if you are carrying a lot of batteries (more on that later). Also, if you are flying with a budget airline that enforces strict weight limits on carry-on luggage, you can very easily put yourself over this threshold, which can be expensive.
A good friend of mine was flying with a budget airline from Manchester to Iceland with some fellow photographers to spend a few days shooting landscapes in this beautiful country. The gate attendants on the low-cost airline he was flying with (let’s call them….. Squeasy Jet) noticed the camera bags at the gate and made them weigh them before they could board.
All the carry-on camera bags were over the 8.6kg limit, and they all had to pay substantial excess baggage charges to get their bags on the planes. No one else boarding the flight had their bags weighed.
There comes a point, however, where it makes more sense to check your camera gear in, and it is usually because of the quantity of equipment you need to take.
When I am flying for a professional shoot, I always factor redundancy into the equipment so that if something breaks, I have spares. This means I fly with two camera bodies, usually a 24-70 and a 70-200, a host of primes, batteries, flash guns, remote triggers, and memory cards, plus other accessory items. Oh, and also any light mods I will need. At this point, this is far more than I can carry on, so checking a camera case becomes a necessity.
If I am checking my camera gear, I always pack it on the assumption that the case is going to get absolutely battered. No disrespect to the airport staff, but I fully expect my camera case to get flung, kicked, booted, dropped, and generally abused. My case needs to be able to take this punishment and protect the fragile items inside.
The camera case also needs to be secure. Again, I am not saying any baggage staff would open the case and steal anything, but stranger things have happened. Ideally, you also need to not advertise the expensive items inside.
So, in short, if you can carry on your camera bag, do. If you can’t, make sure it is tough and secure.
Carry-On Bag Recommendations
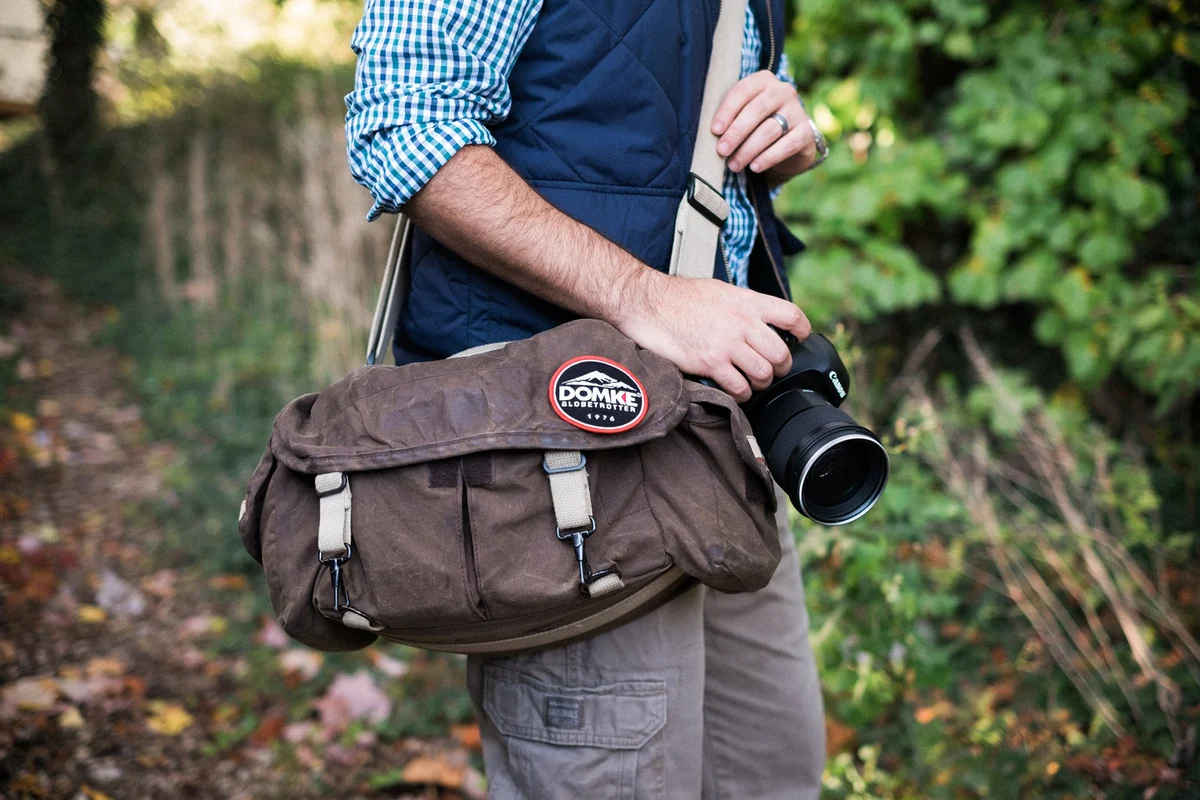
For a carry-on camera bag, there is only one contender; it has to be the Domke F-2. This is the original photojournalist bag since 1976. It is hard-wearing, water-resistant, easy to access, and customisable. It can swallow up four lenses, a pro body, a couple of flash guns and enough spare batteries to keep you shooting for weeks. Best of all, it is made of a tough canvas, so like a great pair of jeans, it looks better with age.
Importantly, unlike LowePro bags, it does not scream that it is a camera bag. Domke is not a well-known brand outside the photography industry, so is far less likely to pique someone’s interest and make you a target for theft or overzealous airline staff.
Check-In Case Recommendations
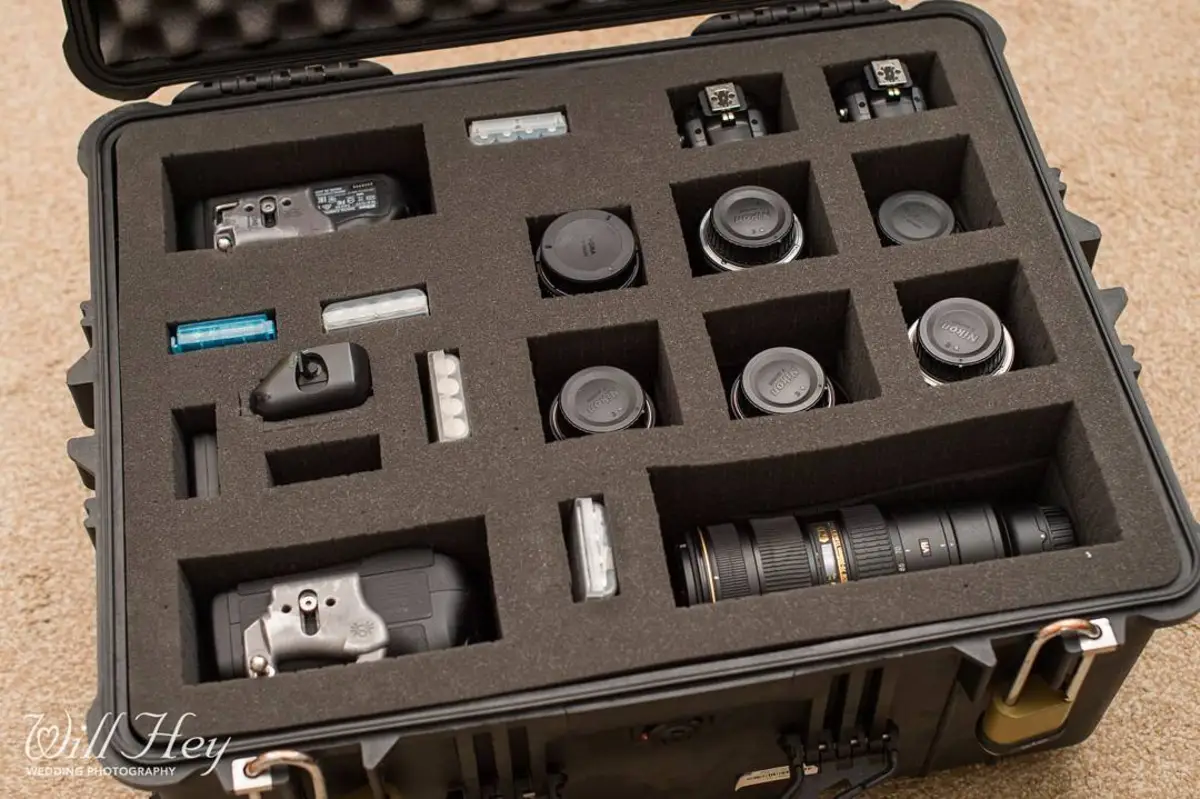
Again, there is only one contender; there is no substitute for Pelican cases. I went with the PELI 1610, which is watertight, dustproof, converts into a rolling case with a handle, can be secured with two padlocks, and, more than anything; it feels damn near indestructible.
Honestly, if I saw this case bouncing down the runway behind the plane with my most expensive camera gear inside, I would not be worried. Some strange people have even conducted “torture tests” on them.
With the internal foam, you can customise it exactly to your equipment. This means no matter how hard it gets smacked around, your precious camera gear will be safe and sound.

Looking for hints, tips and hacks to improve your travel photography? Take a look at our new article: Powerful Travel Photography Tips From A Professional.

Looking for hints, tips and hacks to improve your travel photography? Take a look at our new article:
Tips For Flying with Your Camera Equipment
Make Sure It’s Insured
When you fly, the risk of accidental damage shoots up. Bags get dropped, your case could wind up as lost luggage or worse. Frankly, it would be crazy to fly without having your cameras fully covered.
From experience, generic travel insurance does not give sufficient cover, so you would be far better off going with a dedicated camera insurer.
In the UK, I have used Hiscox for years, and although they are not the cheapest, they have never given me any issues settling a claim (including when everything got trashed in Iceland!)
Whoever you use, check your insurance covers you for international travel.
Make Sure It’s Secure
One of the advantages of my PELI 1610 is that it can be secured with two padlocks, making it that much harder for any opportunistic ne’er do well to pilfer anything. As I mentioned above, I have resisted the temptation to cover my case with any stickers that would advertise its contents, but logic dictates that if you have gone to the trouble of travelling with something in a Pelican Case, it must be valuable.
I know some photographers who use thick cable ties instead of padlocks. I am not a fan of this myself, as they are too easy to cut.
If you are flying in the US, it may be worth investing in some good quality TSA-approved locks in case your gear needs inspecting.

Add Two AirTags
A great way to help keep your gear safe is to add two AirTags to your bag. Put one in an obvious place and bury the second as deep in your camera case as you can.
Should your bag go missing, you will have a much better chance of finding it.
As you can probably tell, I love a bit of redundancy!
Give Yourself Extra Time At The Airport, Especially If You Are Checking Your Camera Case
Occasionally, I have had my Pelican Case refused by the normal bag check-in and have been sent down to the oversized luggage counter. I am not sure why this is; my case is smaller than most suitcases. This means you end up queuing twice to check your bag, so it is worth arriving at the airport in plenty of time for your flight.
I have also had my camera case given an extra security check where I had to remove some of my pieces of gear and turn them on to prove they were not bombs.
Pack Only What You’re Going To Use, But Plan For Failure
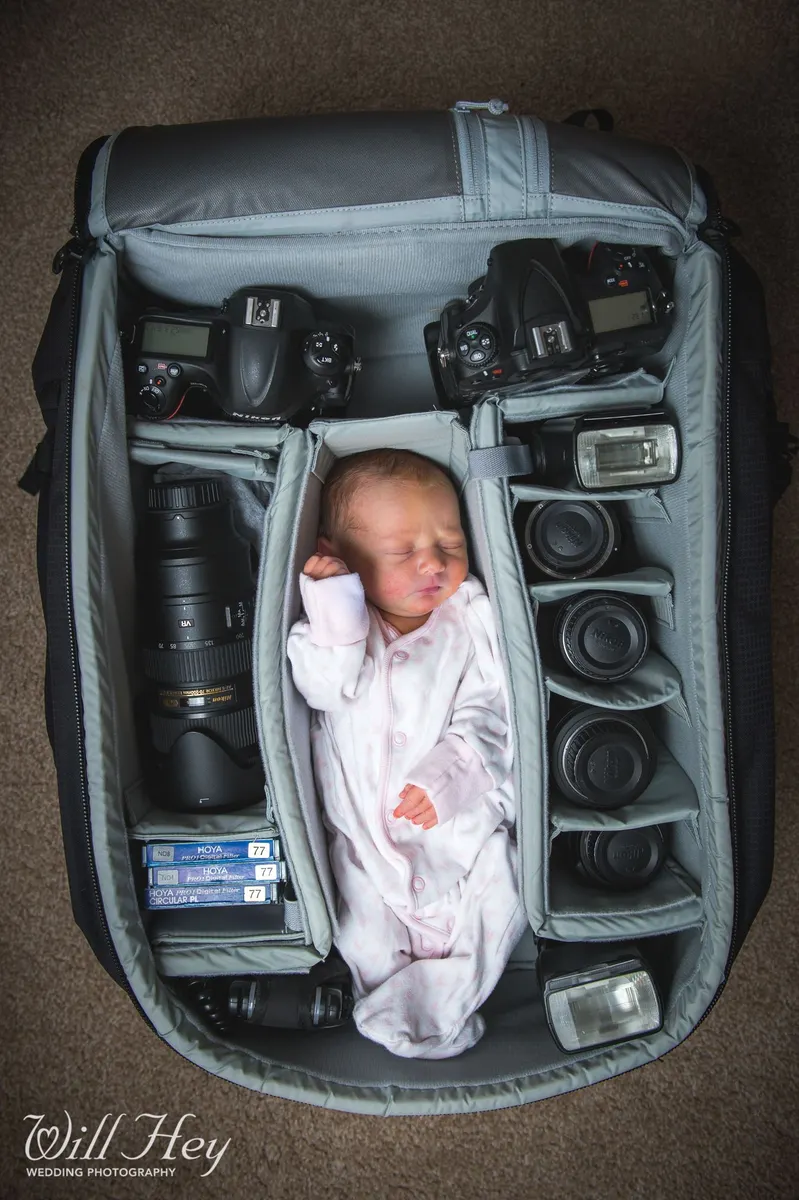
If, like me, you have accumulated a cupboard full of camera gear, then the temptation to overpack is strong. When it comes to air travel, you do not have the luxury of unlimited size and weight, so you need to think smart about what you bring.
As I mentioned above, when flying for a professional shoot, you need redundancy in all your equipment. So, that means two camera bodies and plenty of spare batteries and flash triggers. I prefer to shoot on primes, but I bring two good-quality zooms as they are versatile substitutes.
The huge variable factor on how much you pack is how easy your equipment is to replace at your destination. For my wedding in Ireland, I knew I would be able to get hold of just about anything I needed in a pinch. For my assignment in Cuba, I knew that I would need to take everything as I would struggle even to get a memory card.
Check What Time Zone Your Cameras Are In
I cannot tell you how often this has caught me out!
If you are using multiple cameras, make sure they are all set time and the same time zone. More than once, I have accidentally ended up with one camera set to the local time and one camera set to the UK. This means when you come to edit them, they are in totally the wrong order. You can bulk edit the image time in Lightroom but it is never perfect.
This also goes for your GoPro, drone and anything else you have with you!
Remember the Critical Accessories
This is one you have to be careful with. A good photographer friend of mine once flew for a shoot and arrived with a dead battery for his flash trigger, and he then remembered he did not pack the battery charger. As a rule, don’t rely on an uncertain battery life for a shoot and carrying spare battery packs is seldom a waste of time.
Making a careful list before you fly of what you need can help avoid leaving critical items behind. Also, I am a big believer in everything having its own place in my camera bag. If my 85mm lens always lives in the top right-hand corner of my bag, I can tell at a glance if it is missing.
Getting Your Photos Home
In an ideal world, you will back your RAW images up to the cloud before setting out on your return journey (I have explored backing up your images here); however, due to the size of the files or poor local internet, this may not always be possible.
If not in the cloud, I always follow the golden rule that the images should exist in at least two places at once. To be safe, I always leave a memory card in my camera and carry a duplicate on me. Notice here I say on me, not in my carry-on luggage. If the photos are especially precious, I make a third copy to an external drive and give that drive to someone else to bring home.
Losing one set of images is unlikely; losing two is unthinkable.
Flying With Batteries
One change in my time as a photographer is the new laws for air travel that mean you are no longer allowed to check lithium batteries in the hold of an aeroplane. This means all your camera batteries should be in your hand luggage.
The law currently states you can fly with an unlimited number of extra batteries of less than 100 Watt Hours, which covers most camera batteries. For example, the ubiquitous Nikon EN-EL3A Battery is 12Wh.
Obviously, if you are at all in doubt, check with your airline on their restrictions and your battery manufacturers on its power output.
Kill Them With Kindness
If you find yourself in a position where you are at loggerheads with the airline staff, be it because your case is lost or they are insisting that you check your carry-on baggage into the hold, getting angry will not help.
As a general principle, getting angry with people who have the capacity to absolutely ruin your day or even your entire trip is not a good idea.
You may find that being kind to the gate agent will get you a lot further.
If that doesn’t work, I know photographers who have allowed the carry-on bag to be checked but put the lenses in their pockets and worn the cameras onto the plane. When the airline staff objected they insisted the cameras were, in fact, jewellery.
Do You Need A Time Buffer?
How critical is your shoot? If you are checking your gear and worried about it not arriving, heading there a few days early is an option.
Worst case scenario, this gives you two days to get you two days to be reunited with your lost bags or to source alternate equipment. Best case scenario, this gives you two extra days of preparation time.
Have I Missed Any Tips On How To Fly With Camera Gear?
I really hope you find the above tips useful and they can save you a little hassle on the road. If you have had a different experience or have any suggestions for things we might have missed I would love to hear about them in the comments below.

